- Forest View Elementary School
- K-2 Art projects
Platteborze, Sarah
Page Navigation
-
Week 1
Impressionism Apple Blossom
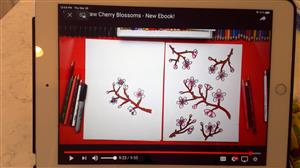
Hi there! We hope you all are having a fantastic week and have had the opportunity to do some art. We wanted to provided an additional resource for you to be able to draw those pretty spring blossoms. We have used Art Hub for Kids before in class, so we think you should feel comfortable with this at home. Just use the link below and remember to have fun drawing those pretty signs of spring!
Supplies:
white paper
black marker
crayons/markers/colored pencils
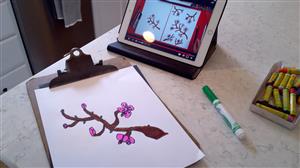
How to draw Cherry Blossoms Art done by Mrs. Russell's son :)


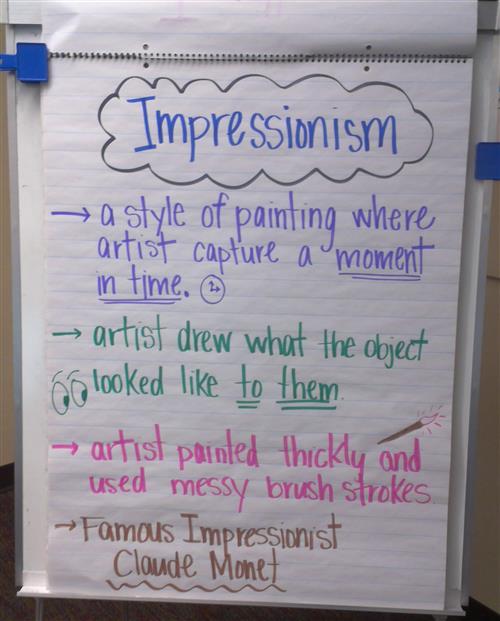
The Impressionists wanted to capture a moment in time. And why not take some time to capture the beauty of spring with these super cute Apple Blossoms. Impressionist were less concerned with the light and color of the moment but more with the details of the objects they were painting. They often painted outdoors so feel free to do the same, as you become a little impressionist yourself!

Supplies:
- 2 pieces of white paper (cardstock is best)
- black oil pastel or crayon
- red, white and green tempura paint
- Medium brush and water containers
- If you have any green napkins or tissue paper you'll use that for the center part of the flower but of course you can always use green crayon.
These apple blossoms turn out super cute due to their variety. So enjoy these adorable signs of Spring and display them around the house to brighten your spirits.
Helpful Hint: Remember to draw BIG! We talked about this last week at school. We discussed using big movements with your hand which helps us make our lines large.
Step One: With your first piece of white paper make a circle (size of a quarter) in the center using your black oil pastel. Next, draw 5 LARGE petals extending out from inner circle which you just made. Remember to draw large petals.
Step Two: With your second piece of paper using your black pastel, make two or three leaves depending on size.
Step Three: Cut out your flower and leaves.
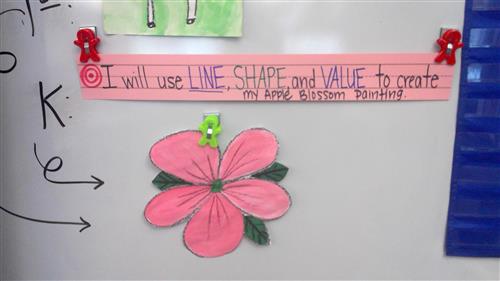
Step Four: With red and white paint you will create your desired shade of pink. Remember what we learned about Value? The more white you add to red your value will change. After you have created the pink shade you want for your flower, paint away!! :)
Remember our Value Song
Step Five: Paint your leaves with your green paint. Feel free to add white to your green paint in order to create a different shade of green. Place your flower and leaves to the side to dry.
This might be all you want to complete for your art project today and would be a good place to stop.
Step Six: After your flower and leaves have dried, you'll use your black oil pastel to add detail by drawing three lines extending out from the center of your flower. If you need to re-trace the outer line of your flower to make the black stand out more you can do that as well. Using your oil pastel, add detail to your leaves.
Step Seven: Glue your leaves onto the back of your apple blossom.
Step Eight: If you have any green tissue paper, use a small piece and crumble it up and glue in the center of your flower. Let dry.
Awesome Job on your Apple Blossoms!

