- Forest View Elementary School
- K-2 Art projects
Platteborze, Sarah
Page Navigation
-
Week 6
Mother's Day Crafts
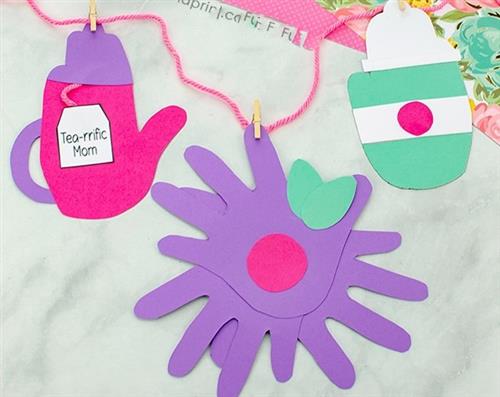
I thought this would be a sweet way to help kids make their moms feel special on their big day as we all know how hard Moms are working during this time at home.
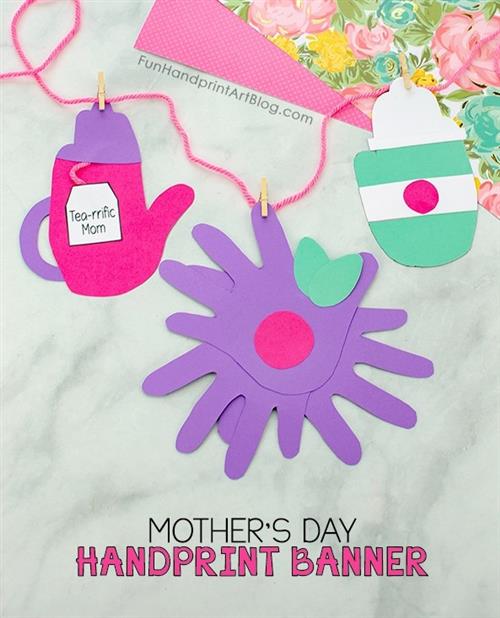
This paper banner for Moms features a Teapot, Flower, and To Go Coffee Cup. They are all made using paper cutouts in the shapes of the child’s hand. The colors can be changed up and it can be any length with repeated items or kids can come up with their own ideas to add to it. You can also use these to make cards.
This handprint Mother’s Day banner is easy to make!
I can use my art skills to make a special Mother's Day banner or Mother's Day cards.
Mother’s Day Banner Supplies
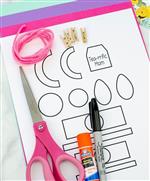
- Cardstock: pink, mint and purple (or any colors you have and want to use)
- Scissors
- Gluestick
- Yarn (you could also use shoe string or ribbon)
- Mini clothespins (you could also use large clothespins or tape)
- The template has two different sizes of the items depending on the size of the child’s hands. You can either print out the template or trace it on the screen. You can also use the template as a guide and draw your own pieces.
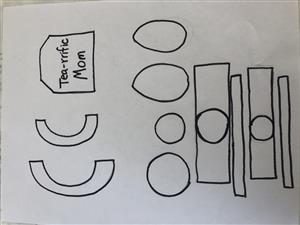
Traced Hand Teapot
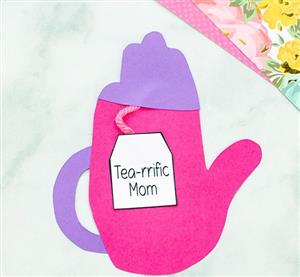
1. For the teapot, trace the child’s hand on pink paper with the fingers together and the thumb sticking out.
2. Trace and cut out the same hand on purple paper as well.
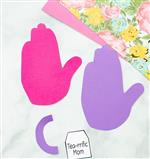
3. Cut the curved teapot handle and the tea bag from the template........
4. Trace the handle on to purple paper and cut out.
5. Now glue the purple handle to the pink hand.
6. Cut off the top of the purple hand and glue it to the pink one to form a teapot lid, but before you press it down, squeeze the end of a small piece of yarn under.
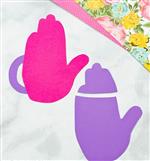
7. Finally glue the tea bag to the tea pot, hiding the other end of the yarn under it.
The cute paper teapot is complete!
Now continue on to make the Coffee Cup. Remember you don't have to create the whole banner. You can make cards if you would rather.
To Go Coffee Cup Instructions
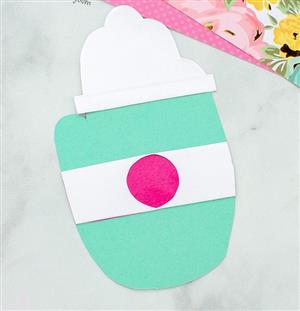
1. For the paper coffee cup, trace the child’s hand on mint paper with the fingers and thumb together.
2. Next, trace and cut out another handprint from white paper.
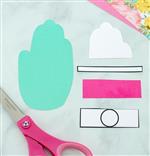
3. After you have the paper hand shapes, the next thing you’ll need is the coffee wrapper and cap rim from the printed template (found above under supplies). Cut out either the bigger version or the smaller depending on the child’s hand size.
4. Then, cut the fingertips off the white hand and glue them to the mint hand to form the top part of the cap or the whipped cream. Glue on the long rectangle to complete the cap. You can trim it to fit the child’s hand.
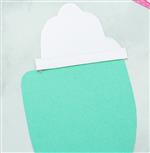
5. To finish, trace and cut the circle shape from the pink paper. Glue the white coffee wrapper to the middle of the hand and then add the pink circle in the middle.
The coffee to go cup craft is complete!
Paper Hands Flower Instructions
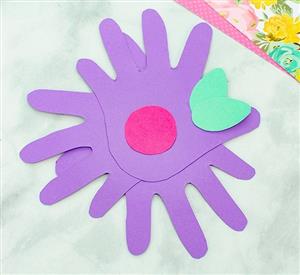
1. To make the flower, trace and cut 3 handprints from purple paper.
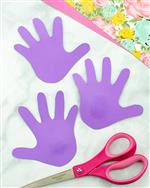
2. Grab the template and cut out the circle and leaves.
3. Trace and cut the leaves from the mint paper and the circle from the pink paper.
4. To form the flower, stack the handprints in the circle and glue them together.
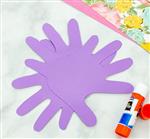
5. Finish the flower by gluing on the center circle and the leaves to the side.
Handprint Banner for Mom
To make the banner, simply attach each handprint creation to a long piece of yarn using mini clothespins.
This project is meant to be completed in 2 sessions @ 30 minutes each.
Don't forget to email your art teacher Mrs. Russell or Mrs. Platteborze a picture of you and your finished art so we can see what AMAZING work you created. We will then put your picture on our art webpage under ART SHOWCASE. I know everyone misses seeing eachother and our awesome art so this gives us a way to still do that.
Thank you to Fun Hand Print Art for the project!

