- Forest View Elementary School
- 3-5th Art Projects
Platteborze, Sarah
Page Navigation
-
WEEK 3
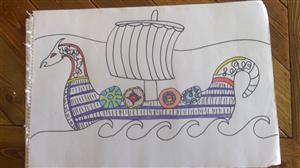
• Today I will learn about SHAPE, so that I CAN create a VIKING LONGSHIP by drawing both ORGANIC and GEOMETRIC SHAPES for the different parts of my boat.
• Today I will learn about LINE, so that I CAN draw a VIKING LONGSHIP. I’ll know I have it when my boat is large and takes up most of the SPACE on my paper.
• Today I will learn about SPACE, so that I CAN create a SEASCAPE that has DEPTH by drawing waves in the FOREGROUND, a boat in the MIDDLEGROUND and a HORIZON LINE in the BACKGROUND.
VIKING LONGSHIPS
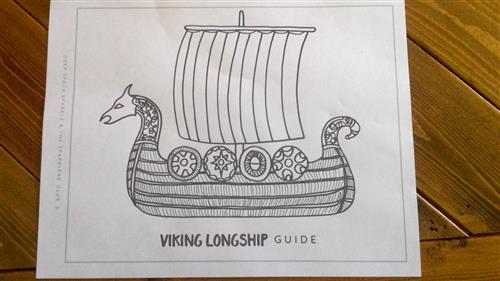
Viking longships were technologically advanced boats for their time which allowed the Vikings to become a dominate force in Europe in the 9th-11th centuries. These ships are the subject for this lesson on shape, line and space. As your students create a seascape with depth, they will feature a detailed boat that contains both organic and geometric shapes. ABOUT LONGSHIPS Longships were wooden sea vessels made by Vikings in Scandinavia for trade, exploration and warfare during the Viking Age (800-1100 AD). The hull was designed to be shallow and lightweight to allow for beach landings and portaging (carrying the boat). Wooden shields were placed on the hull’s side to provide more space and to protect against the seawater. The boats are steered by a rudder and powered by wind (sails) and muscle (oars).
WHAT YOU’LL NEED:
12” x 18” watercolor paper (or any paper you have)
Pencils and erasers
Black permanent marker
Watercolors (or markers with water)
Small and medium paintbrush
Water containers
Colored pencils
Step ONE:
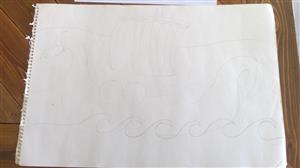
Draw the boat with pencil. Start with lightly drawing the HULL (bottom of the boat) to get the boat’s placement in the water. Lightly sketch a BOW (front of the boat) and STERN (back of the boat). Draw a MAST and a BOXED SAIL. Sketch in circles for the shields. Add details to the bow and stern, such as a face and tail. Add a horizon line. Add fancy or realistic waves in front of the hull and near the horizon line. TIP: Try to draw as lightly as possible. You will be erasing ALL the pencil lines. Try not to add repetitive details like waves and boarding as you can do it faster with a black marker.
Step TWO:
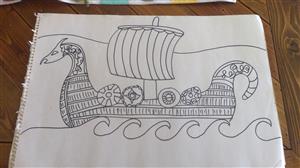
Trace and Add Details with Marker Tracing over pencil lines with a black permanent marker takes longer than you think. The important thing to remember is to avoid adding too many small details with the pencil because you’ll just have to go over the same lines again. Most of the detail, I added later with the black marker. Get creative! What lines and designs will you use?
Step THREE:
The main rule for using colored pencils is to color in small, detailed areas of your artwork where it would be too difficult to paint. In this project, the shields are detailed enough that colored pencils protect the integrity of the designs.
Step FOUR:
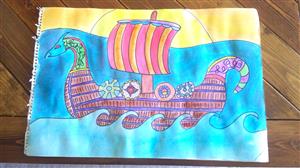
Now that all your detail work is done with colored pencil, you are ready to paint! Paint any areas that are left with watercolor paints.
