- Forest View Elementary School
- K-2 Art projects
Platteborze, Sarah
Page Navigation
-
Week 5
Vibrant Artwork Inspired by Pop Artist Romero Britto

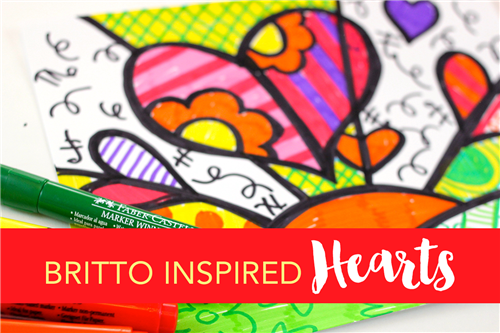
Today we are learning about a different style of art! This weeks project will help your students easily explore the many different line and shape techniques with an engaging art project inspired by one of the most well known artists. We chose to learn about modern day pop artist Romero Britto, whose art can be found all around the world. His styles are mostly influenced by cubism and pop art. Kids can make their very own vibrant artwork inspired by pop artist Romero Britto.
Romero Britto Heart inspired examples
Click here to visit Romero Britto's website
ABOUT THE FAMOUS ARTIST
Romero Britto is a Brazilian born artist who now lives in Miami, Florida. His modern pop culture art work is known and celebrated all over the world. He uses vibrant colors and bold patterns as a visual language of hope and happiness, reflecting his optimistic views of the world around him. Britto was inspired by the vibrant art of Picasso and Matisse, which he combined with pop art to create his own unique and iconic style. His style has been described ‘exuding warmth’ and evoking a spirit of hope. Bringing together bright colors and playful themes, his work has a childlike quality.
We thought due to what is happening in our world, this project would be a great way for our students to inspire HOPE and HAPPINESS in their own homes.
Supplies:
- Markers (My favorite to use in the classroom are Mr. Sketch, adds a yummy smell to our art projects)
- Cardstock or Drawing Paper (either will work fine)
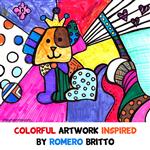
Students can also create their own vibrant design, they do not need to use the drawing guide. Here is a student example of an original Romero Britto inspired art design.

Day One:
Step 1: Draw curved lines on bottom of paper with black marker
Step 2: Draw “sun” and sun’s rays (straight lines)
Step 3: Draw a large heart over and in-between the rays
Step 4: Double up the black lines so they are thick
Step 5:Use broad tip markers to color in areas of the artwork
Step 6:Light colors make a good color choice for large areas
Step 7:Draw patterns over white paper or colored areas
You can also watch this Instructional Video.
Don't forget to email your art teacher Mrs. Russell or Mrs. Platteborze a picture of you and your finished art so we can see what AMAZING work you created. We will then put your picture on our art webpage under ART SHOWCASE. I know everyone misses seeing eachother and our awesome art so this gives us a way to still do that.
This project is suggested to be completed in 1 session @ 35/40 minutes.

